The following section explain how to install and set up PMX-1 as well as how to connect the first audio device. Afterwards you should be ready so use PMX-1 and move on to the Tutorials or the rest of the Documentation.
This section describes the installation and a short usage example. It shows how to do the following:
- Install the dependencies
- Install PMX-1 from source either with the AUR package or by cloning the repository
- Set up the Open Stage Control GUI
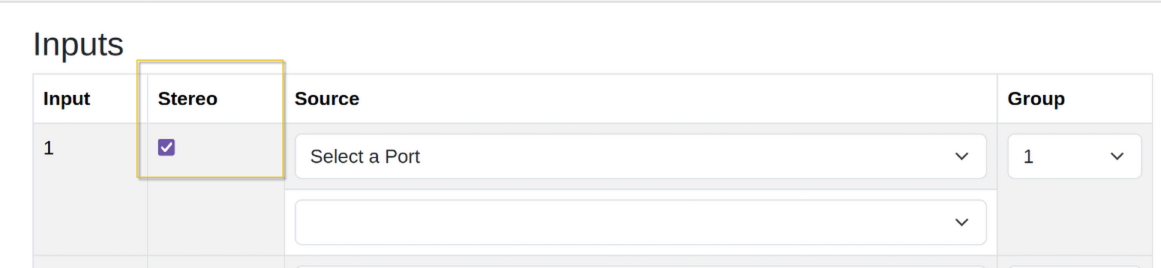
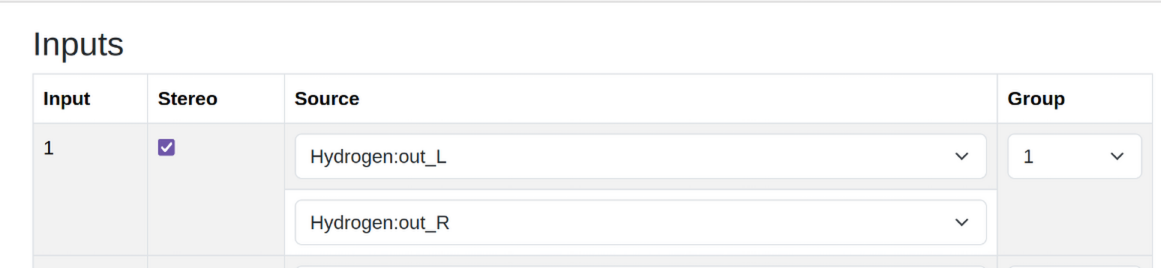
- Connect hydrogen to the mixer
Prerequisites
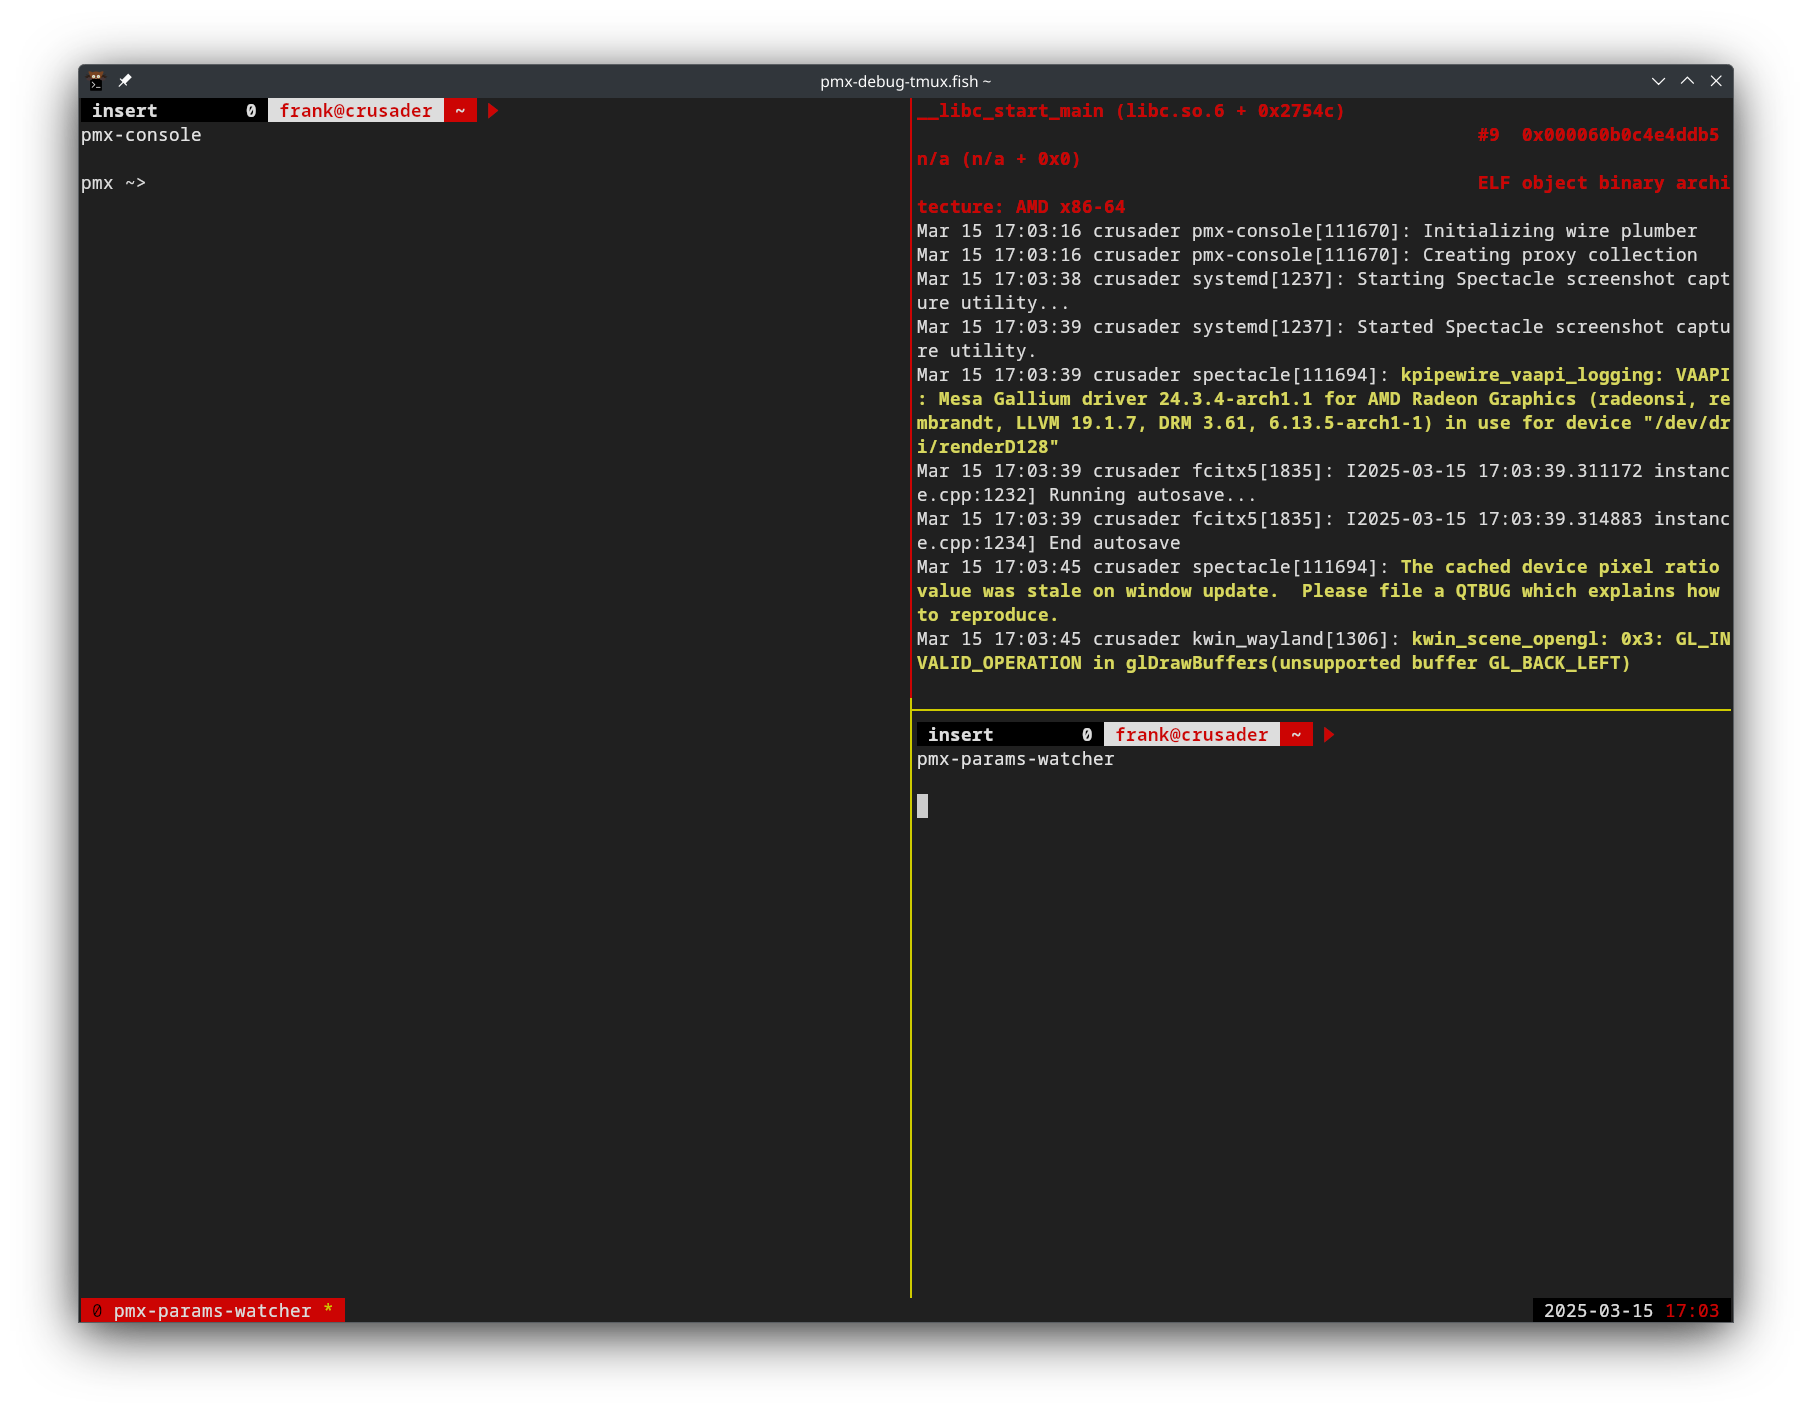
PMX-1 is a Linux application written in C++. It use systemd, pipewire and wireplumber, and depends on GRPC, Protobuf, and other libraries. For development and debugging tools, it also depends on fish.
It uses meson and g++ for compilation.
The mixer uses several LV2 plugins for signal processing.
Installing dependencies on Arch Linux
To install (nearly) all dependencies in one shot, use the following command:
sudo pacman -S systemd pipewire wireplumber boost grpc protobuf yaml-cpp \
    libsystemd dbus fish git meson pipewire-audio pipewire-jack calf jalv \
    dpf-plugins-lv2 tmux cmake
Afterwards, we need to install two dependencies from the AUR.
Installing replxx
PMX-1 also uses replxx, which only has an AUR package so far. To install that, either uses the AUR helper of your choice, or clone the repository and build the package as follows:
git clone https://aur.archlinux.org/replxx.git
cd replxx
makepkg
sudo pacman -U replxx-*.pkg.tar.zst
Installing open-stage-control
git clone https://aur.archlinux.org/open-stage-control-bin.git
cd open-stage-control-bin
makepkg
sudo pacman -U open-stage-control-bin-*.pkg.tar.zst
Installation
PMX-1 is implemented in multiple repositories, which ultimately culminate in three installations: the PMX-1 back-end services, the Admin UI to configure routing, and the Open Stage Control GUI.
Installing the back-end services
TODO: Move the package to the AUR
The back-end services are implemented as a collection of interconnected custom pipewire filters, filter chains, osc and grpc services and wireplumber scripts, all orchestrated and managed as systemd units and configured via pipewire metadata.
To install all of that using the AUR package, execute the following commands:
git clone https://github.com/performance-mixer/pmx-git-arch
cd pmx-git-arch
makepkg
sudo pacman -U pmx-*.pkg.tar.zst
Installing the Admin UI
The PMX-1 Admin UI is an ASP.net application. It uses the GRPC API to communicate with the mixer and can be run everywhere, in this section, we will show how to build and install the application, the setup will be described in the Setup section.
Running straight from the repository
The easiest way to run the Admin UI is to clone the repository and run it straight from the project directory.
git clone https://github.com/performance-mixer/pmx-grpc
git clone https://github.com/performance-mixer/pmx-admin-ui
cd pmx-admin-ui/Pmx.Admin.Ui/
dotnet run
This will start the application and print the URL it listens on. Open it in the browser and the Admin UI is ready.
Installing system-wide
TODO:
- Systemd unit files for admin ui management
- Build and install script
- PKGBUILD and AUR package
Installing the GUI
The Open Stage Control GUI is distributes as and Open Stage Control Interface, which can be opened and edited in Open Stage Control exactly like any other interface. To get the latest delivered version, clone the git repository.
git clone https://github.com/performance-mixer/pmx-osc-ui
To start the GUI, open pmx_osc_ui.json in Open Stage Control.
Setup
Is there any initial setup users need to do after installation to try your project?
Try it out
Can your users test their installation, for example by running a command or deploying a Hello World example?